Drip Acclimation Importance
Drip Acclimation is an important part in taking care of and breeding your Red Cherry Shrimp! Some of you might be asking though, what is Drip Acclimation? Drip Acclimation is the process of gradually allowing the shrimp, or fish, to adapt to a new environment. This allows the shrimp, or fish, to adjust to different temperatures of water as well as a switch from one aquarium to another. Drip Acclimation reduces the chance of shock or death in your shrimp! The rate of drip and the time of acclimation are dependent on the breed of shrimp you have.
Red Cherry Shrimp, for example, are more hearty and resilient than Crystal Red Shrimp, so the time for Red Cherry Shrimp to acclimate would be less. This is why typically, when a beginning shrimp breeder starts out, they choose Red Cherry Shrimp as their first breed. Though not always necessary, acclimation is a good practice to develop for adequate care of all shrimp, and aquatic creatures!
Shock Syndrome
The reasons why Drip Acclimating is so important is mainly because it will reduce the chance your shrimp will get shock! Shock has a major affect on shrimp, and other fish. It will cause your shrimp to have a shorter life expectancy, can cause death, causes stress, and chances of not eating. So remember that Drip Acclimation is a very important step in preventing shock. Here are list of items needed and the steps to Drip Acclimation, which are very simple and easily followed.
How-to
Items needed:
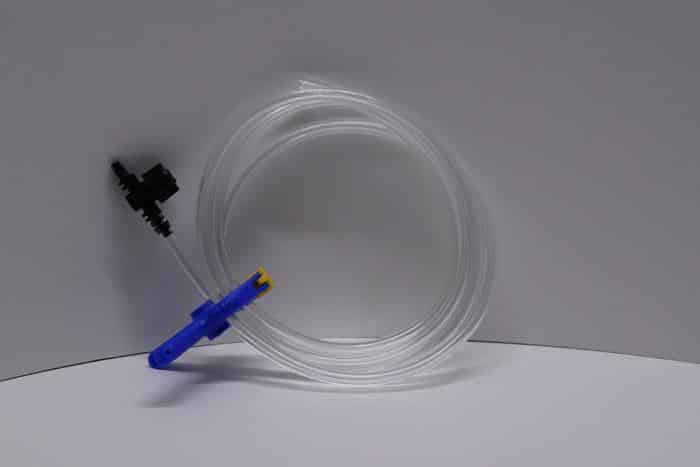
A few feet of air tubing.
An airline control valve.
A large plastic cup or bowl.
A fish net.
*Suction cups or clips to hold the air tubing.
* Optional.
Step 1: Place your shrimp into the cup with about one to two inches of the old water, depending on the size of your shrimp. It is important that the cup or bowl is not half way full. If the cup is half way or above, it will overflow and causing a potential loss in shrimp.
Step 2: Put the airline control valve on the end of your tubing, making sure it is completely open.
Step 3: Fill the tubing with the water from the new aquarium, and then fully close the airline control valve.
Step 4: Place the tubing into the new aquarium, making sure it cannot slip, move, or fall out (this is where the suction cups or clips come in handy), and place the other end onto the cup so the water may drip. Make sure the end is fully submerged in the water. Always remember to put your cup in a lower position than your aquarium so that the water can be transferred.
Step 5: Gradually adjust your airline control valve until you have around one drip per second. Keep in mind that this amount should be increased or decreased according to the shrimp’s level of sensitivity. Allow the water to drip until the cup is full. (Generic Adderall: Ordering Without Prescription) The entire process should take anywhere between thirty minutes to two hours.
Step 6: Remove the shrimp from the plastic cup using your net, and then release them into their new tank. Keep in mind, some shrimp may be fully adjusted when released into the new tank and begin acting normal immediately. Other shrimp may seem to swim around erratically which should subside within a day.


No Comments